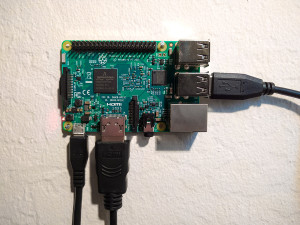
 A guide to setting up the Python scientific stack, well-suited for geospatial analysis, on a Raspberry Pi 3. The whole process takes just a few minutes.
The Raspberry Pi 3 was announced two weeks ago and presents a substantial step up in computational power over its predecessors. It can serve as a functional Wi-Fi connected Linux desktop computer, albeit underpowered. However it’s perfectly capable of running the Python scientific computing stack including Jupyter, pandas, matplotlib, scipy, scikit-learn, and OSMnx.
Despite (or because of?) its low power, it’s ideal for low-overhead and repetitive tasks that researchers and engineers often face, including geocoding, web scraping, scheduled API calls, or recurring statistical or spatial analyses (with small-ish data sets). It’s also a great way to set up a simple server or experiment with Linux. This guide is aimed at newcomers to the world of Raspberry Pi and Linux, but who have an interest in setting up a Python environment on these $35 credit card sized computers. We’ll run through everything you need to do to get started (if your Pi is already up and running, skip steps 1 and 2).